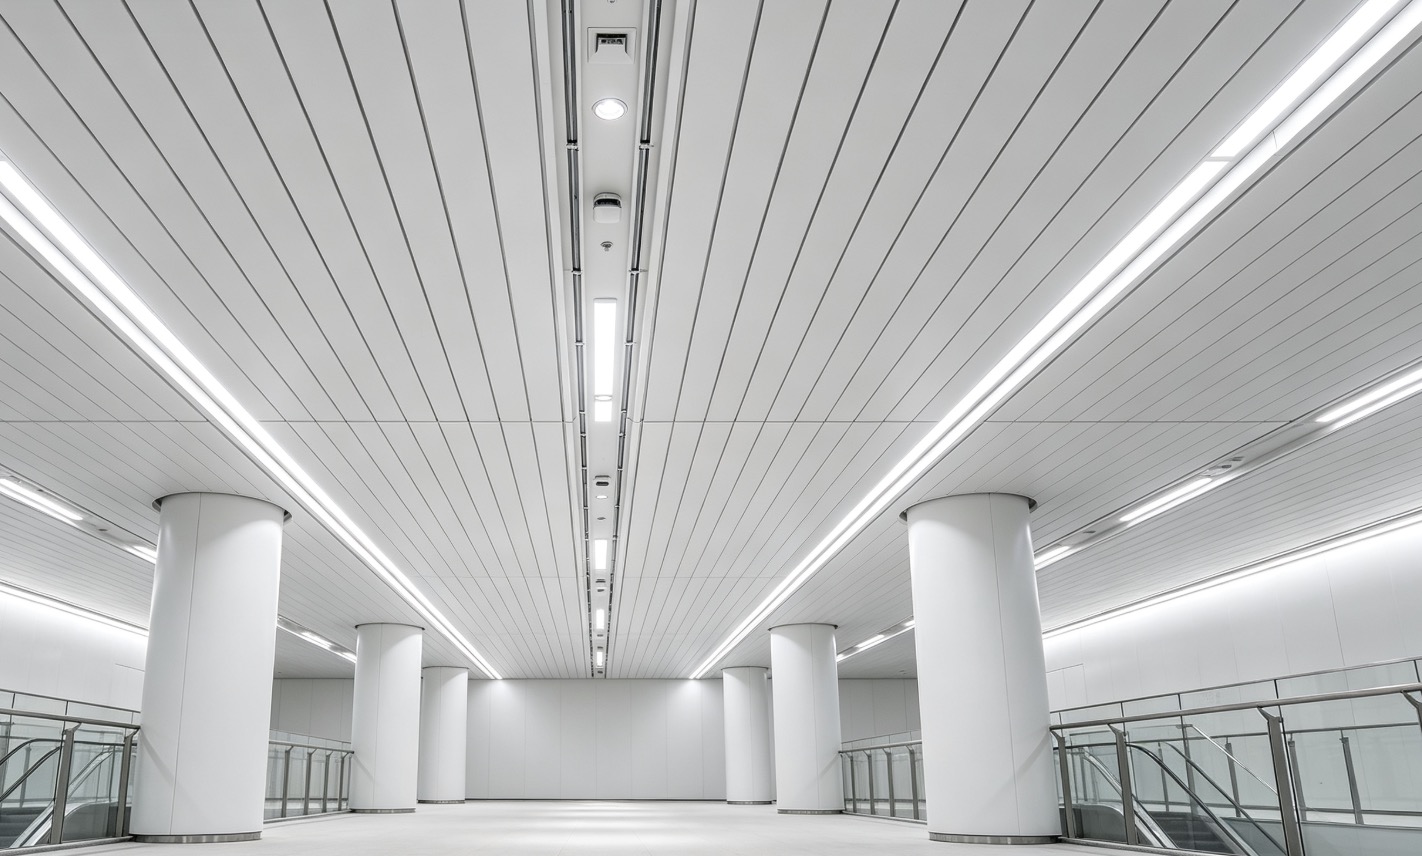
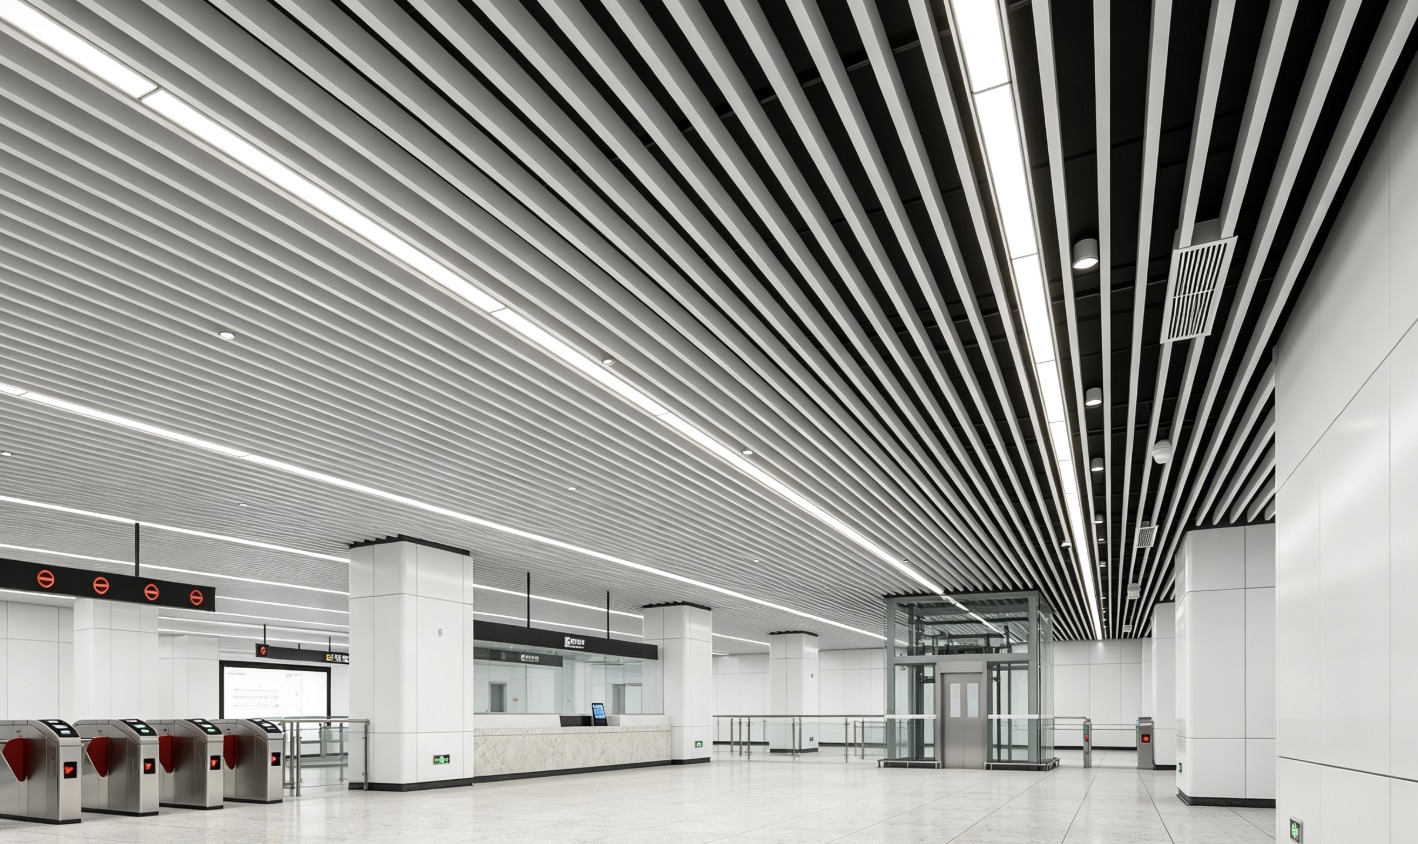
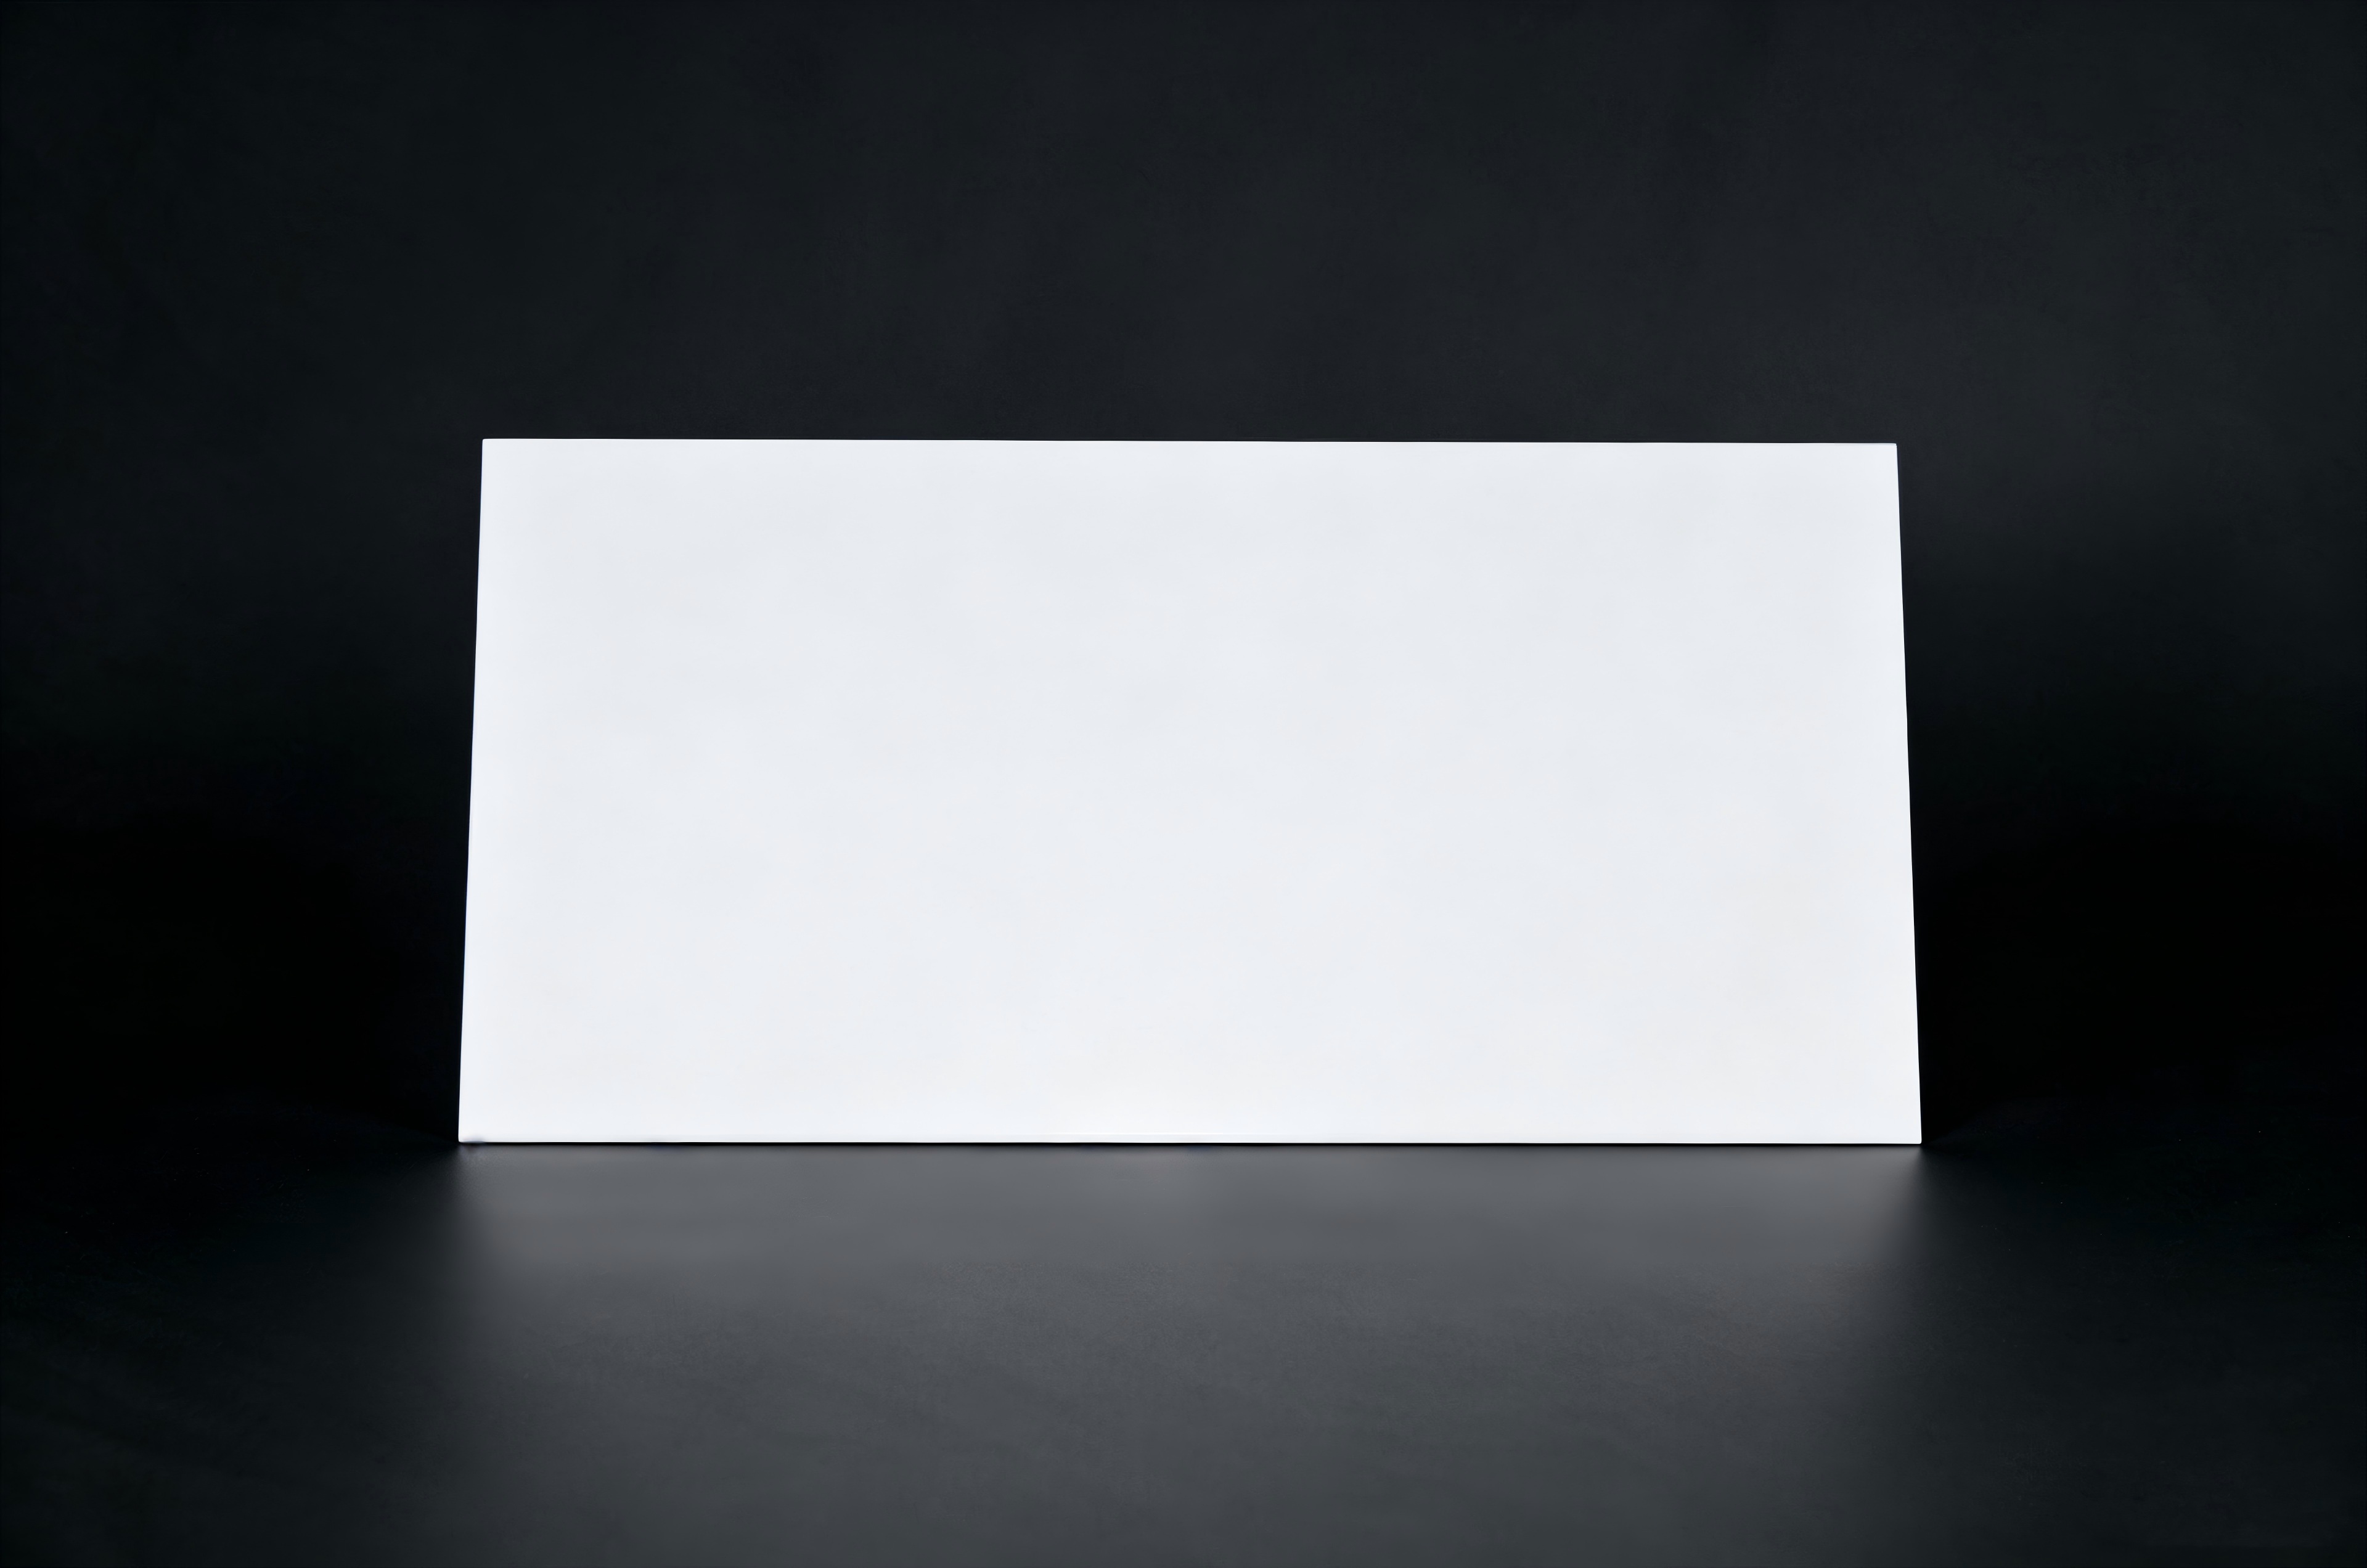
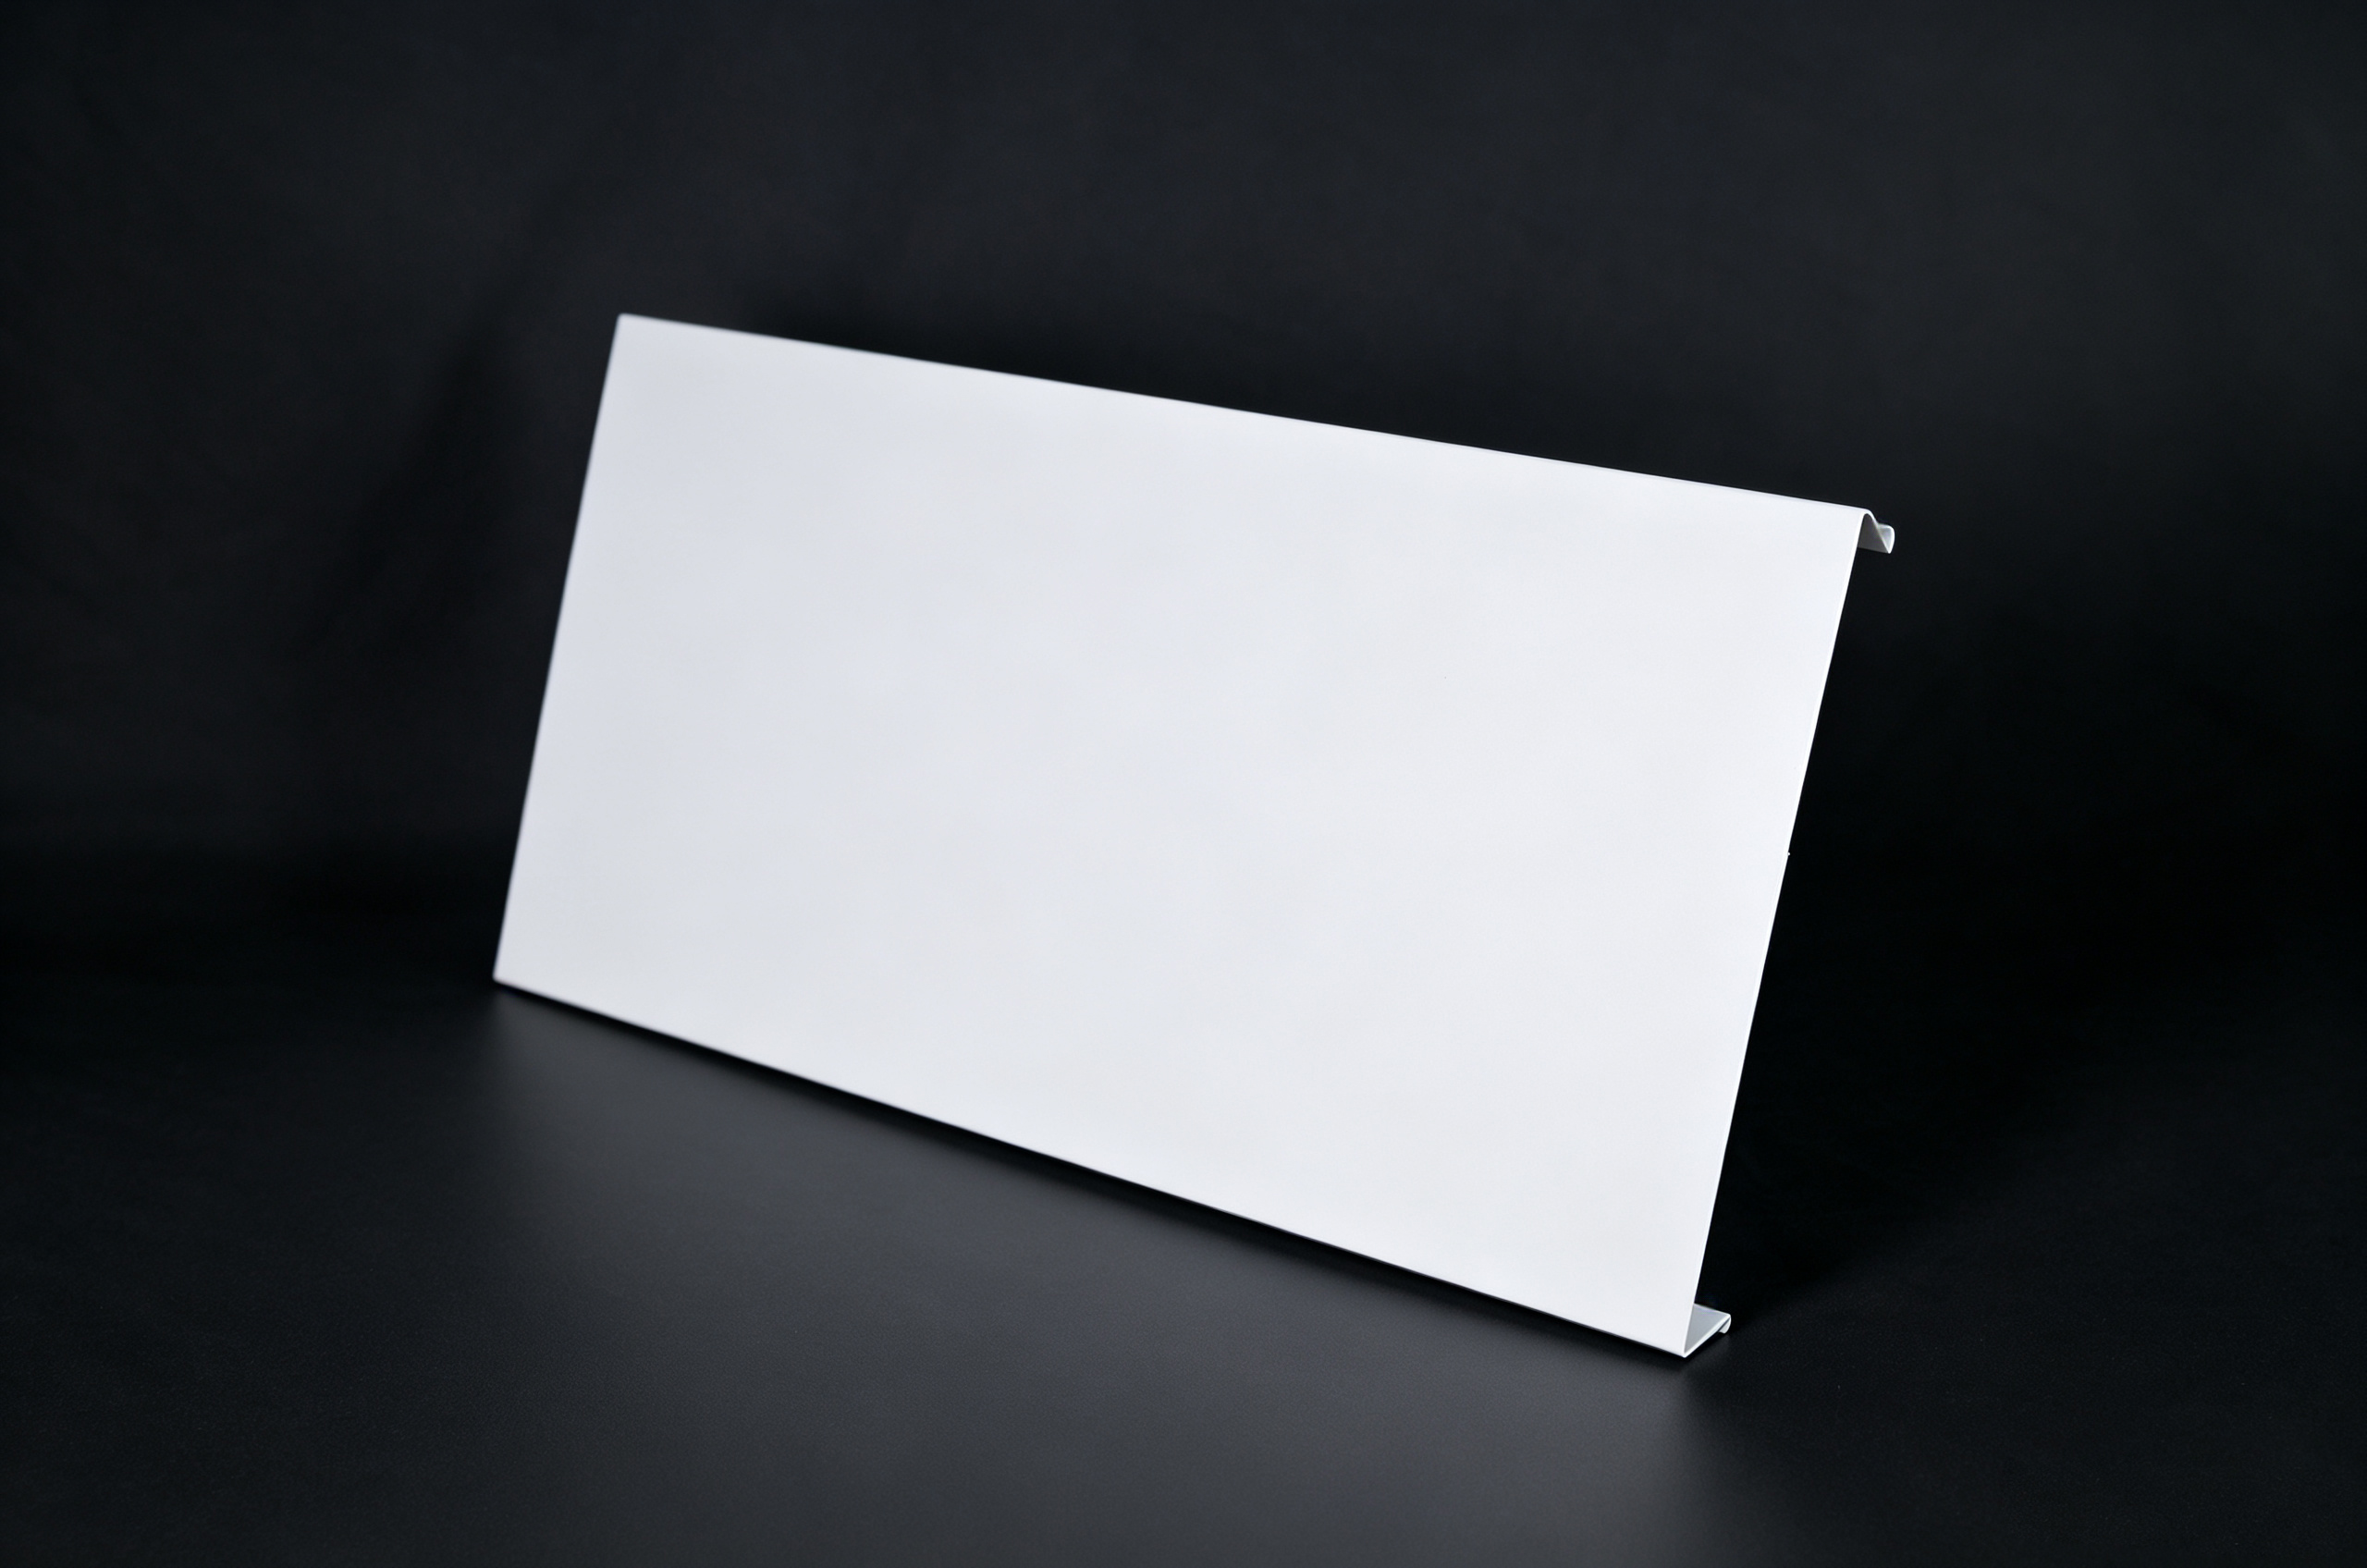
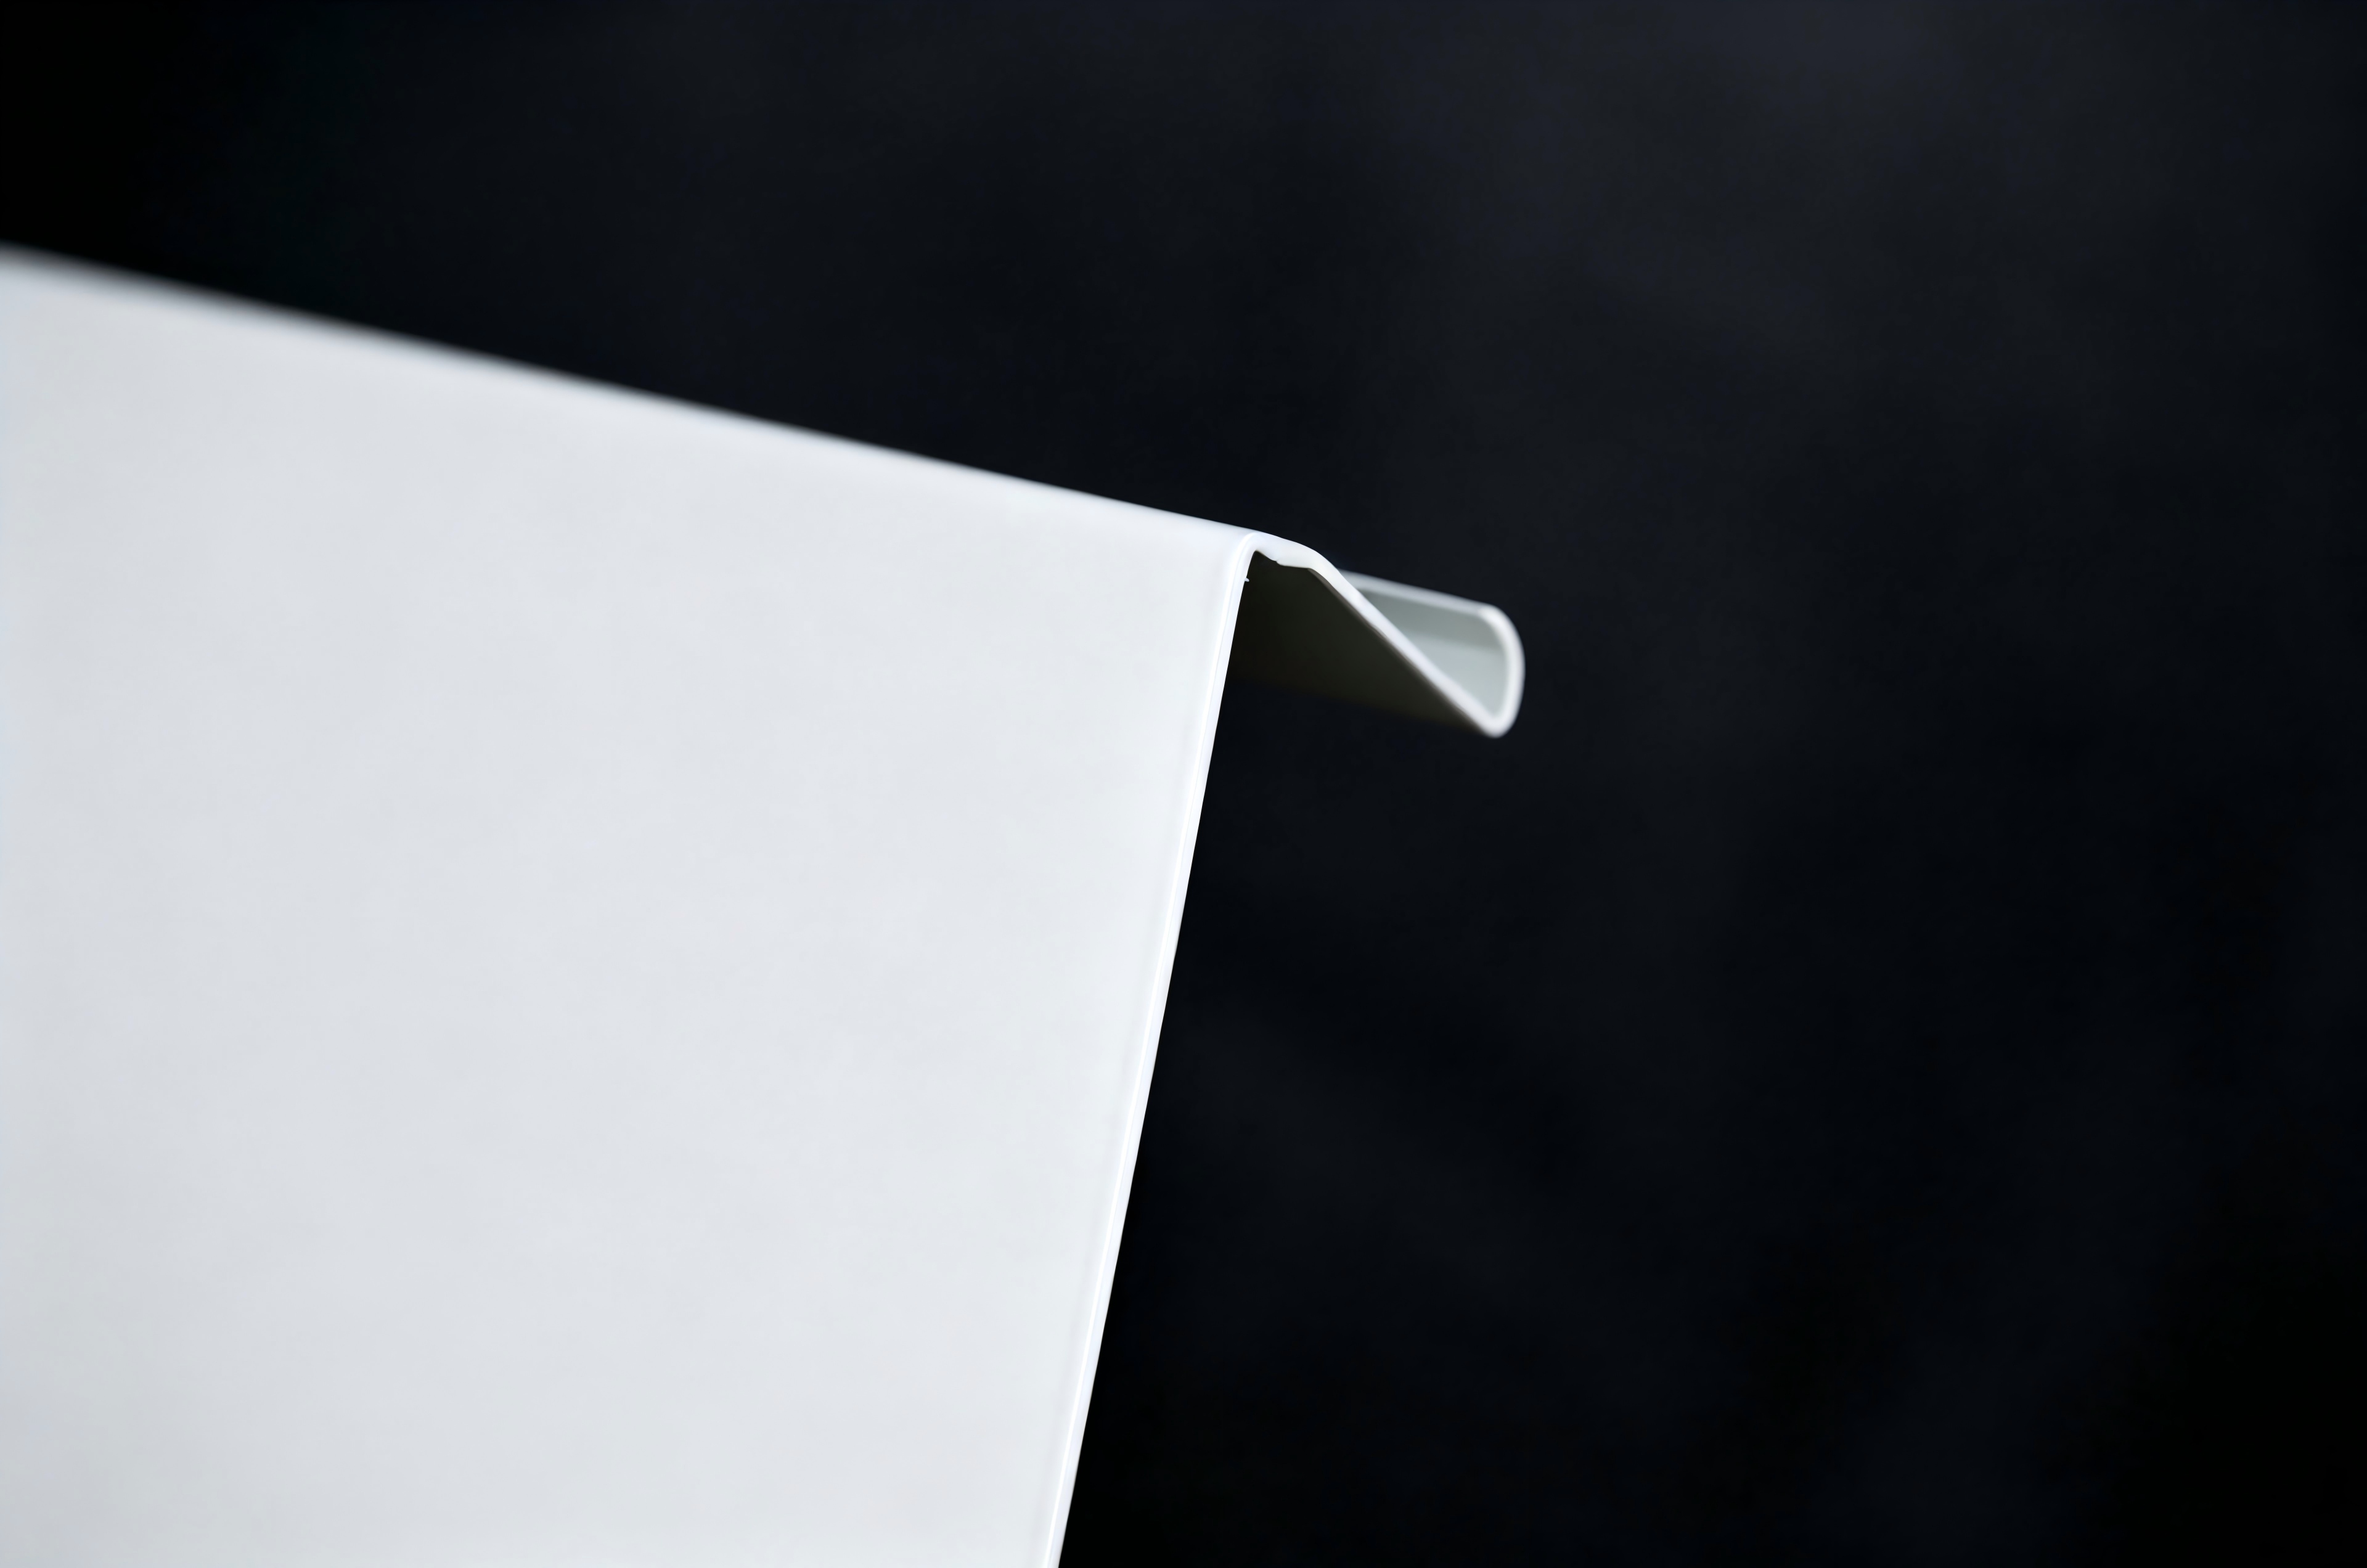
Regular C-type ceiling panel is made from high-strength aluminum alloy and formed through CNC processing. Its width and length can be customized according to design requirements. It is installed with a concealed clip-in carrier system, creating slim and continuous gaps between the panels. The surface is available in PVDF or powder coating, providing a smooth linear appearance across the ceiling.
The special clip-in carrier system allows each panel to be removed individually for easy installation and maintenance. A perforated acoustic version is also available as an option, providing additional acoustic performance for public ceiling projects.
The product is widely used for interior ceiling decoration in subway stations, hotel corridors, shopping mall corridors, office corridors, and other spaces.
• High physical strength, good impact resistance and resistance to deformation
• Extremely lightweight, with a high safety factor for the facade
• It features Class A2 fire resistance and comes with a long warranty period
• Easy to install and adaptable to different designs, making it suitable for a wide range of building structures
• Highly customizable, available in various sizes, thicknesses, colors, and shapes to meet different design requirements and achieve the design effect
Product Name:Regular C-type strip ceiling system
Metal Alloy:3000 series aluminum、5000 series aluminum
Regular Thickness:0.6 mm,0.8 mm,1.0 mm,1.2 mm,1.5 mm
Regular Dimensions:Beveled Edge:100 mm,150 mm,200 mm,300 mm
Square Edge:100 mm,150 mm,200 mm,300 mm
Surface Treatment:Powder coat, Thermal transfer coat
Applications:Factory buildings, corridors, kitchens, bathrooms, balconies, children's rooms, etc.
Warranty:Powder coating 10–25-year warranty, Thermal transfer coat 15–20-year warranty
Fire Performance:A2
Weather Resistance:Strong
1. Elevation Survey & Layout Marking Draw horizontal elevation lines and strip layout lines based on construction drawings, mark fixed positions of roof expansion bolts and hanging rods to confirm ceiling suspension height.
2. Install Hanging Rods & Main Keels Drill expansion anchors on the roof slab, fix vertical galvanized hanging rods, mount horizontal main light steel keels and adjust overall horizontal flatness.
3. Mount Special C Interlocking Keels Fix dedicated C-shaped secondary keels under main keels at equal intervals, align keel spacing with the width of C-strip panels.
4. Install C-Strip Panels in Sequence Tilt one side of the C-strip, hook the folded edge onto the C-keel, then press the other side down to complete interlocking; install strips row by row along the layout direction.
5. Install Auxiliary Fixtures Install matching linear lamps, air outlets and sprinklers at reserved positions, fit decorative edging strips for wall corners.
6. Overall Inspection & Surface Cleaning Check ceiling flatness, straightness of linear strips and tight interlocking; wipe off construction dust and surface stains.
1. Standard C-Shaped Aluminum Strip Panel
2. C-Type Interlocking Special Keel
3. Main Light Steel Keel
4. Adjustable Galvanized Hanging Rod
5. Roof Slab Expansion Anchor Bolt
6. Optional Sound Absorbing Cotton
7. Back Reinforcement Stiffener
· Keep all C-keels at the same horizontal level to avoid uneven strip surfaces;
· Handle strips gently to prevent edge deformation and coating scratches during installation;
· Ensure complete overlapping interlock between panels to avoid hidden falling risks;
· Reserve expansion gaps at strip joints to eliminate deformation caused by thermal expansion and contraction.